Homemade Perfumed Body Powder: Talc-Free DIY Perfume

Image
  Dust lightly with a puff after your shower — this DIY body powder leaves skin soft, fresh, and beautifully scented. There’s something wonderfully timeless about a soft puff of perfumed body powder . It’s more subtle than perfume, keeps skin silky, and carries a personal, intimate scent that lingers close to you. Best of all, you don’t need talc or complicated ingredients — you can make a talc-free body powder at home in minutes. In this guide, you’ll get: A from-scratch body dusting powder recipe (completely homemade)  A baby powder upgrade recipe (transform a base you already have) 15+ scent blends  you will love (from floral to cozy to citrus fresh)  Pro tips on how to use, why to use, and how to make it silky and safe Why Use Perfuming Body Powder? Many people ask why bother with DIY perfumed body powder when sprays and perfumes exist. Here’s why: Soft, intimate fragrance : a veil of scent that stays close to skin Absorbs light moisture : perfect for...

A Handy Accessory for Every Seamstress: DIY Magnetic Wristband Tutorial


If you're a sewist, you know how important it is to have all your tools within reach while you work. That's where a magnetic wristband comes in handy! It keeps your tools easily accessible and saves you from constantly reaching for them.

Making your own magnetic wristband is incredibly easy and can be done in just a few steps. Here's what you'll need:

Materials:

  • A length of fabric (about 12 inches long and 4 inches wide)
  • Magnets
  • Hot glue gun
  • Scissors
  • Velcro

Instructions:

  1. Cut your fabric to the desired length and width, and fold it in half lengthwise. This will give you a long strip of fabric that's about 2 inches wide.

  2. Hot glue one end of the fabric to the back of one of the magnets. Be sure to glue it in the center of the magnet.

  3. Fold the fabric over the magnet and hot glue the other end to the back of the magnet. The magnet should now be sandwiched between the two layers of fabric.

  4. Repeat steps 2 and 3 with the remaining magnets, spacing them evenly along the length of the fabric.

  5. Once all the magnets are attached, use your scissors to cut a small strip of Velcro. Hot glue one side of the Velcro to the end of the fabric that does not have a magnet attached.

  6. Wrap the fabric around your wrist to measure the correct length for the other side of the Velcro. Cut the fabric to the correct length, and hot glue the other side of the Velcro to the end of the fabric.

And that's it! Your DIY magnetic wristband is complete. Slip it on your wrist, and all your sewing tools will be at your fingertips. This wristband is not only functional but can also be a fun and personalized accessory for any sewist.

We hope you enjoyed this tutorial and found it useful. Let us know in the comments if you have any questions or suggestions for other DIY sewing projects. Happy sewing!


step by step fast tutorial Click 


 step by step tutorial second idea ! Click


Comments

Popular posts from this blog

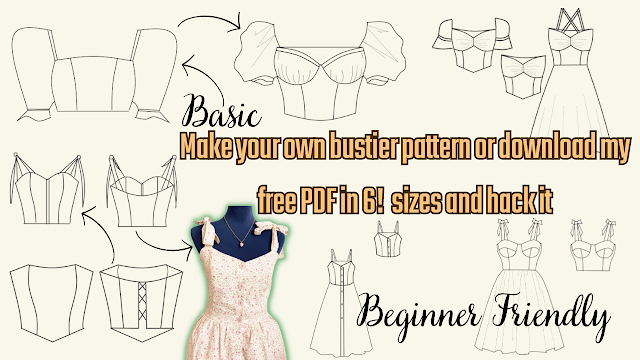
Create Your Own Bustier Pattern: Download Free PDF Pattern in 6 Sizes and Hack it into 8 Styles

Make Your Own Bralette Top with My Free PDF Pattern ! all sizes 😉

Diy Halter Top sewing tutorial and free pattern